Last Stop Roblox Beginner Guide: Survive Your First Run
A complete Last Stop Roblox beginner guide: the drive-and-loot loop, the seven controls that matter, checkpoint flow, and the first-run mistakes that end most buses.
FAQ
Is Last Stop hard for new players?
Do I need a group to play Last Stop?
What should I spend my first cash on in Last Stop?
How long is a full Last Stop run?
How does a run of Last Stop actually work?
Every run moves in two rhythms. When the bus is driving, you defend it — zombies latch on and hazards chip at your wheels and fuel. When the bus stops, the timer flips: loot the buildings around you, run your haul back to the terminal, sell everything you don’t need, and buy what keeps the next stretch survivable. Every decision serves the next stop’s budget, and the bus itself is your real health bar — if it can’t roll, the run is over.
Which controls matter most in Last Stop?
Last Stop keeps its control set small — seven inputs cover everything, and four of them do most of the work:
| Input | Action | When it matters |
|---|---|---|
| Click | Grab / shoot | Looting and all combat |
| E | Equip / use | Swapping tools and items at a stop |
| Q | Drop | Freeing bag space for quest items |
| R | Reload | Before committing to a fight, not during |
| Tab | Inventory | Keep-or-sell decisions |
| Y | Inspect | Identify unknown bus parts before placing |
| Z | Place / build / attach | Bus repairs and upgrades |
The inspect-and-place pair (Y then Z) is the one new players skip — and then wonder why a “wheel” they placed didn’t fix the axle. Inspect first, place second.
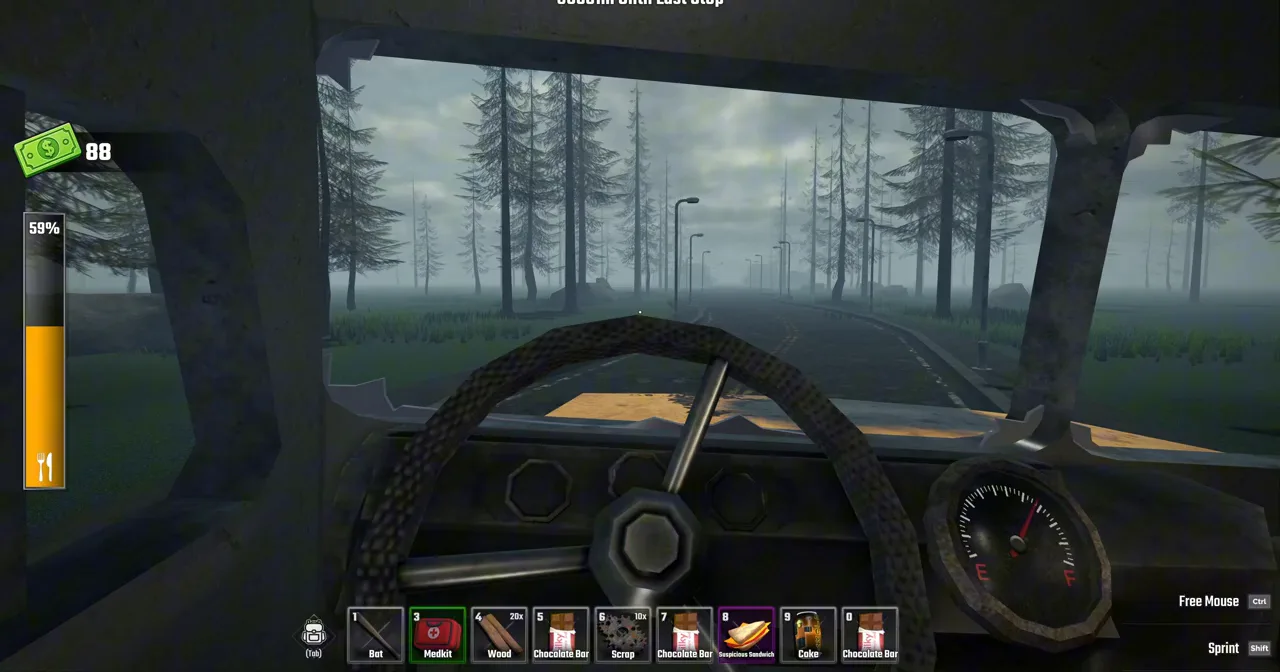
Special stops like the Barn announce themselves with a name and a difficulty rating — and pay far better than houses.
How should you loot buildings in Last Stop?
Looting is where most first-run efficiency dies. The rules that matter:
- Don’t fight every zombie you see. While you’re looting, the horde mostly wastes your time — loot straight away and move.
- Skip houses once the run is rolling. Houses are low-yield. Special buildings (barns, starry areas) pay far better for the same stop. Starry areas hold the expensive items — trophies and shields.
- Rarity is your filter. Rare, epic, and legendary items are sellable income; low-rarity junk just fills your bag. Our what-to-sell guide gives the full keep-or-sell framework.
- Leave coal on the floor. Coal gives little fuel for the space it takes.
- Don’t stock food. Every house has some — eat what you find and go. And skip bandages; the regen system in Last Stop is fast enough that they rarely matter.
- Grab medium ammo. It feeds the revolver, which carries you all the way to the final boss.
One early exception: an iron sword is worth a bag slot all the way to the endgame — drop the starting shovel the moment you have it.
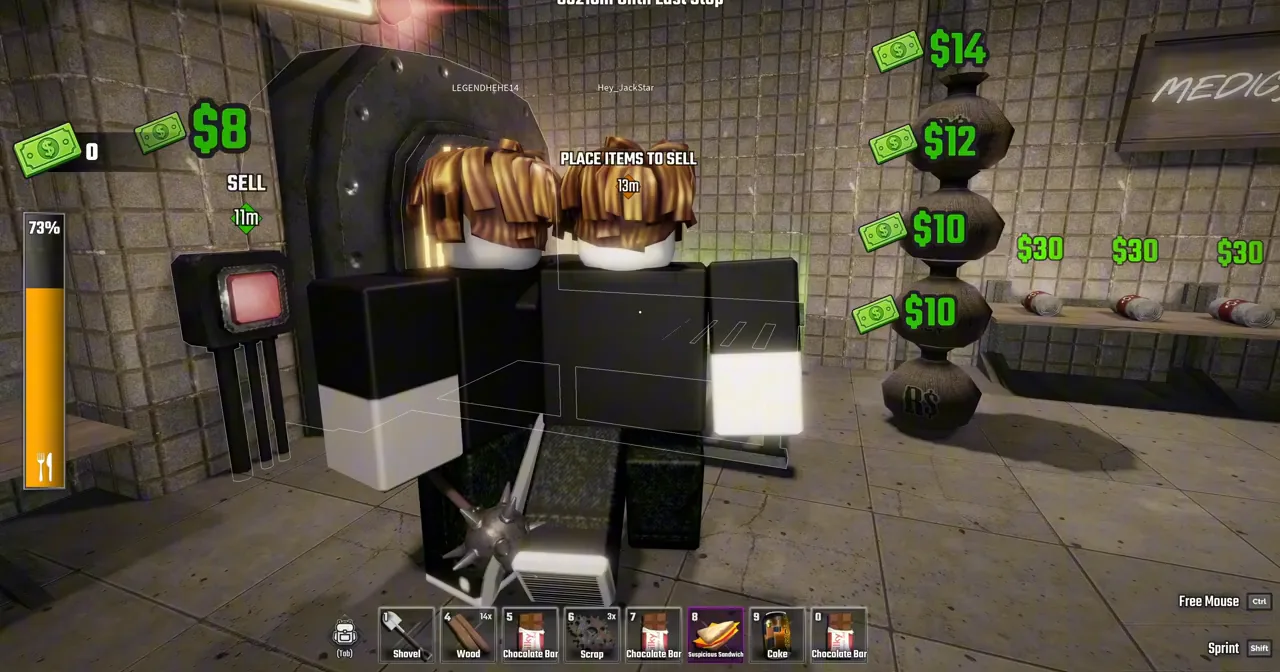
What should you do at each station?
Sell first, then spend with intent. Food and armor are steady sellers, and station stops are where the craft table matters: refill or craft a basic wheel early — late-game rides explode wheels, and a spare in the bag turns a run-ending pop into a two-minute pit stop. The crafting page has the verified recipe costs behind that wheel.
At the mid-run terminals, the play changes: stop looting and buy gas until your wallet is thin. Gasoline plus a coal box is the efficient fuel buy. Keep a little cash back for medium ammo, then push straight to the next checkpoint.
How do checkpoints work?
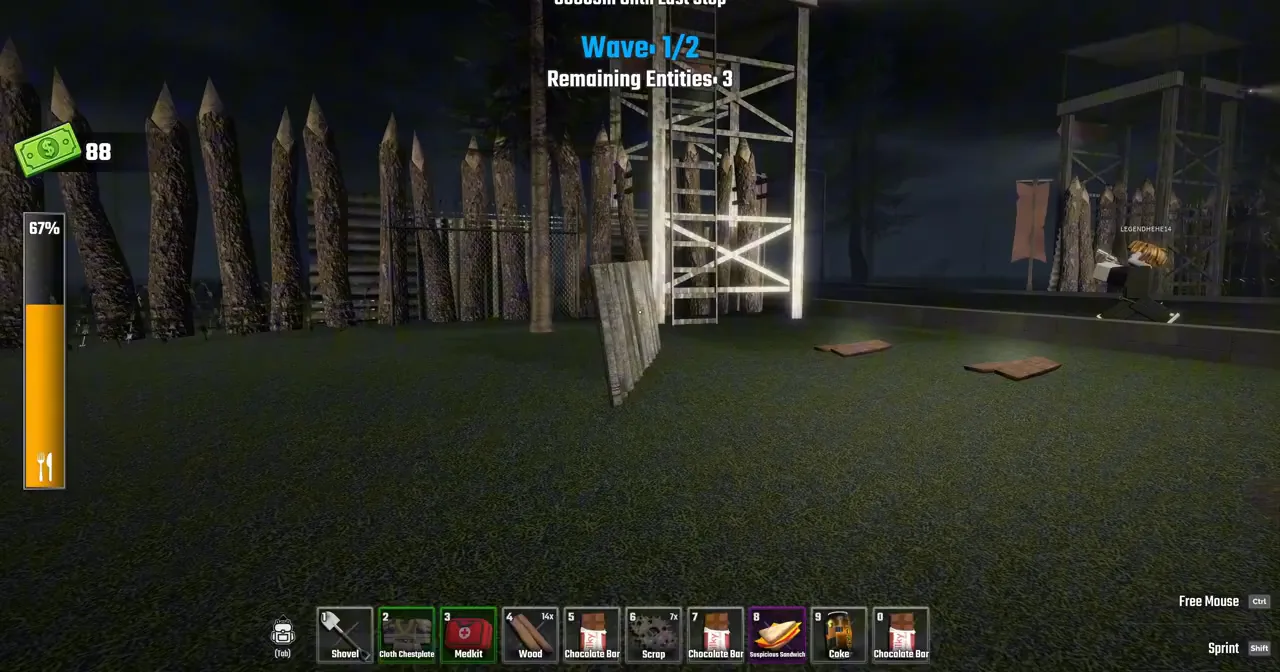
Checkpoints are the run’s gates — the bus won’t pass until you clear them:
- Kill every enemy in the checkpoint zone. Leaving even one entity alive sends the horde back at you when you board.
- Grab the key and open the jail. The rescue target follows you — and if an NPC gets left behind, it teleports to the bus, so don’t panic.
- Loot the checkpoint area. Checkpoint loot is guaranteed income — the second checkpoint alone is worth several hundred dollars, often close to $1,000 in a clean clear.
- Board and roll out.
The barn special building deserves a detour: finishing it recruits the detective helper, an NPC companion for the road — see the detective helper barn guide for the clear.
One roadside hazard to know before Checkpoint III: a vampire can grab you while you’re on foot in the foggy forest leg — mash through the Fight Back prompt to break free, as covered in the vampire guide.
How does the run end?
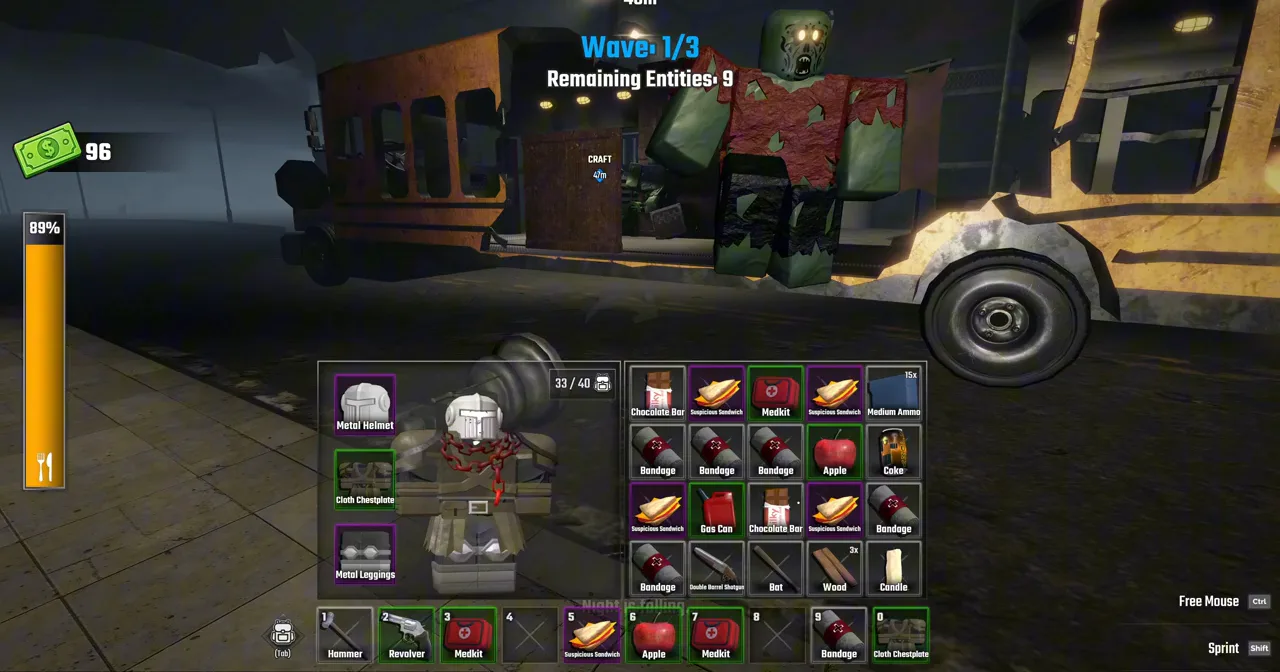
After the third checkpoint you’ll build the bridge and defend five final waves — funnel zombies against a wall and hit them through the hitbox rather than fighting in the open. Then it’s the last terminal: gear up with the highest-rarity attachments you can afford (press M to attach), fill the tank, and meet whatever the game has been foreshadowing since the first stop.
We won’t spoil the twist here — the Fred final boss guide covers both endings and how to commit to the one you want, and the endings and badges page lists every badge the run can award you along the way. If a boss fight mid-run goes sideways, the Anubis guide covers the dungeon most runs meet.
Three classic first-run mistakes
- Fighting the horde instead of looting around it. Time at a stop is finite; DPS isn’t the objective.
- Buying firepower before mobility. A gun doesn’t help a bus with no wheels. Fix movement first — the bus upgrade priority is fuel, wheels, repairs, then weapons.
- Hoarding junk. A full bag means leaving the valuable item on the floor. Sell ruthlessly — the selling milestones reward volume.
When the base route holds up, Nightmare Mode is the difficulty spike waiting for you — permanent night and nonstop spawns, with the boss numbers compared in the nightmare mode guide. The route keeps growing too — the Ocean Biome update of 19 September is the next themed drop after the alien invasion, and we track what it actually confirms on that page.
Before your first run: redeem today’s Last Stop codes — free Tickets shave hours off the early upgrade grind.
Related videos


Related Articles
bosses
Last Stop Roblox Kraken Boss Guide: 2,000 HP Sea Monster at the Oil Rig
Verified Kraken guide for Last Stop Roblox: the 2,000 HP tentacle boss that rises when the oil rig's last vault opens, its attack phases, and the 30-token reward.
guides
Last Stop Roblox Oil Rig Guide: Floors, Keycards, Vaults and the Kraken
Oil Rig guide for Last Stop Roblox: the three-star Next Stop, three floors of oil workers, keycards, three floor vaults, and the boss that wakes at the end.
guides
Last Stop Roblox Pirate Bus: the 1% Spin Drop With a Deck Cannon
Pirate Bus guide for Last Stop Roblox: the 1% Ocean Spin prize, the roof-mounted deck cannon, the checkpoint and siege plays it enables, and every place it fails.
Was this helpful?
Thanks for the feedback!