Last Stop Roblox Checkpoint Guide: All 3 Gates, Waves and Rewards
The Last Stop Roblox checkpoint guide: how the three checkpoint gates work, wave counts, the key-and-rescue loop, and what each clear pays out.
FAQ
How many checkpoints are in Last Stop?
What happens if you leave one enemy alive at a checkpoint?
Do the rescued NPCs need to be escorted to the bus?
How much money is a checkpoint worth in Last Stop?
How do checkpoints work in Last Stop?
A checkpoint is a gate on the road, not a stop you can skip. When the bus reaches one, the run halts and a banner takes over the screen: “Next Stop: Checkpoint” — Defeat all enemies and rescue the captured civilian! A wave counter appears at the top (Wave 1/2, Remaining Entities: 8) and the zone around the bus becomes the arena. Until every entity in that zone is dead, the bus is not moving.
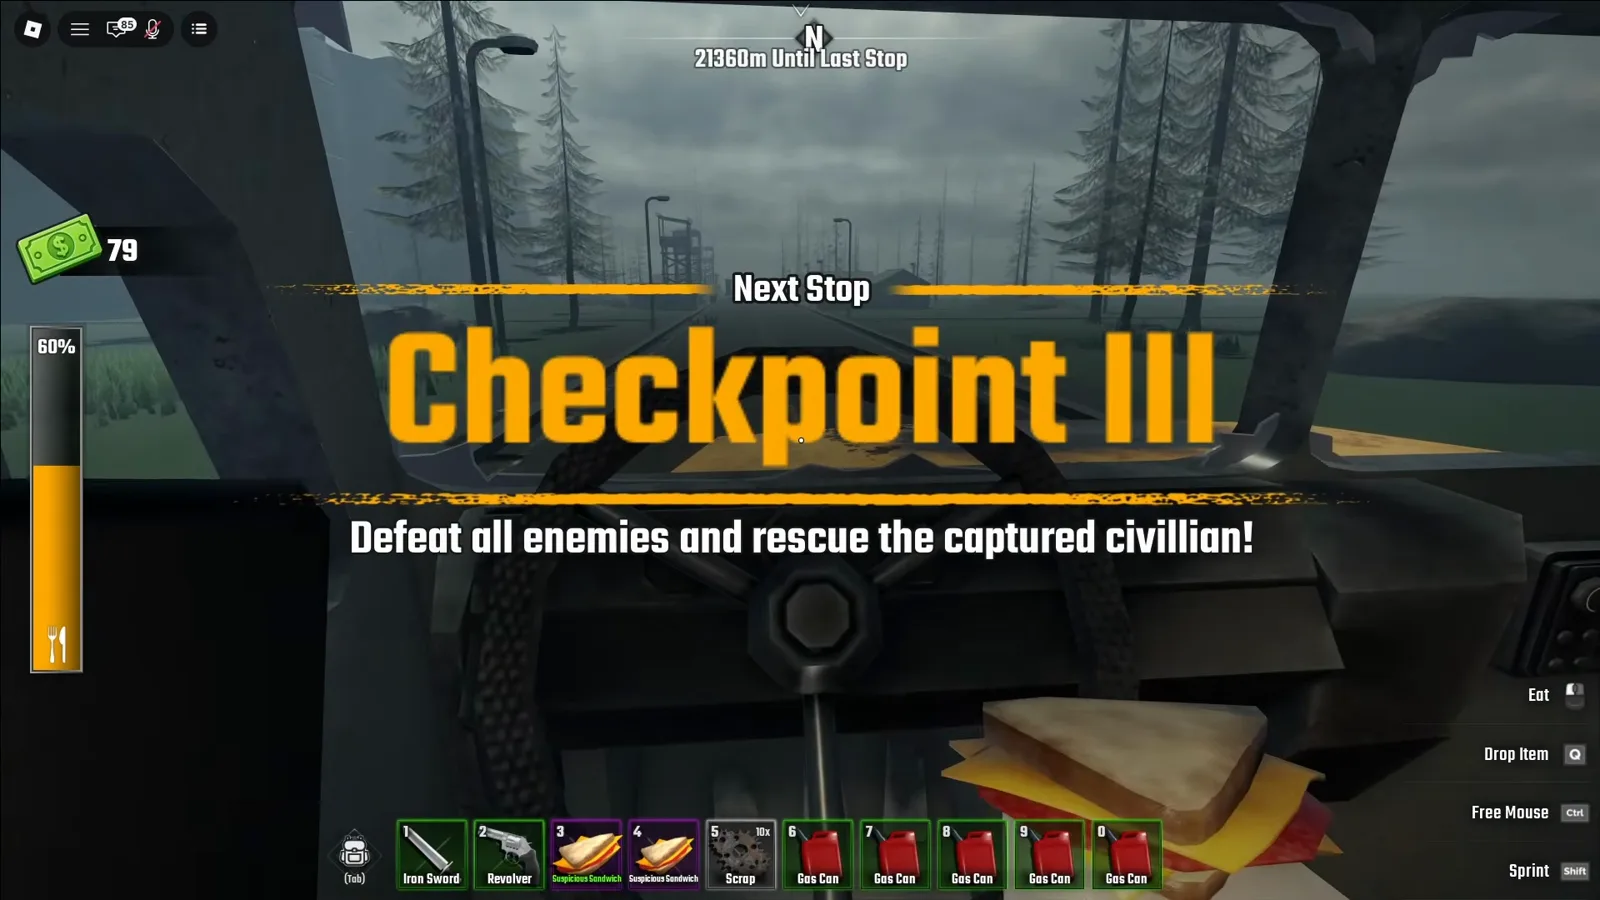
The clear loop is identical at every gate:
- Kill every enemy in the checkpoint zone. The counter tracks the remaining entities — when it hits zero, the checkpoint is complete.
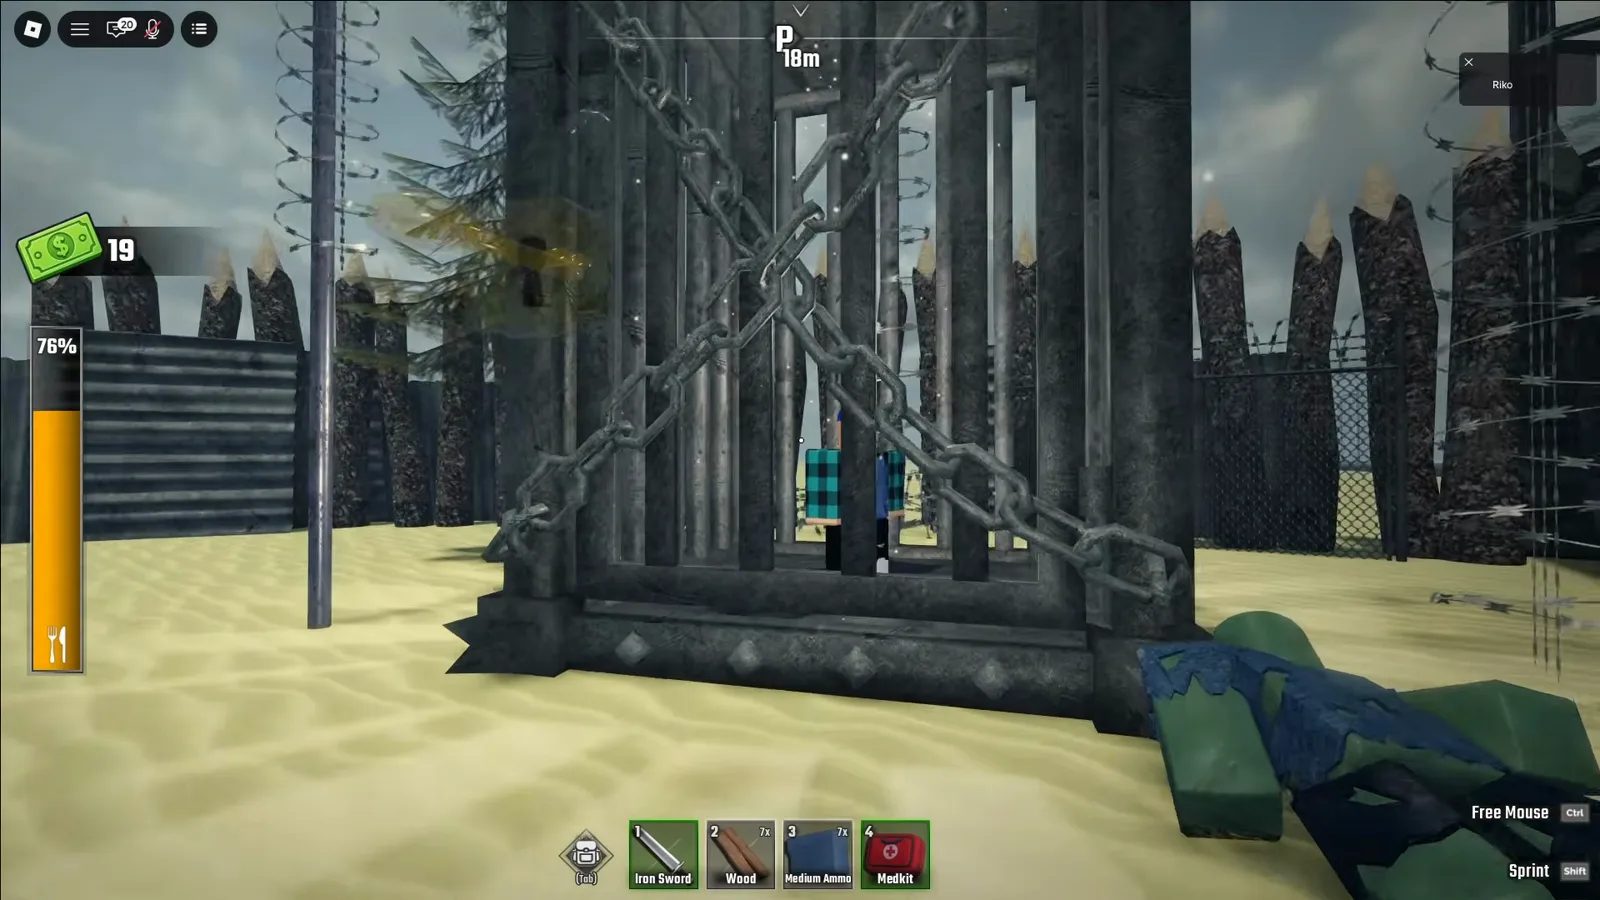
- Grab the key and open the cage. A golden key unlocks the chained cage holding the captured civilian.
- Let the rescue follow you. Freed NPCs trail you automatically; no dialogue, no escort mission. Left behind, they teleport to the bus.
- Loot, then roll out. Checkpoint loot is guaranteed income — far better than houses — so sweep the zone before boarding.
One rule that saves runs: don’t board early. If even one entity is still standing when you get back on the bus, the remaining enemies show up and come at you — the horde follows you to the vehicle instead of staying in the arena.
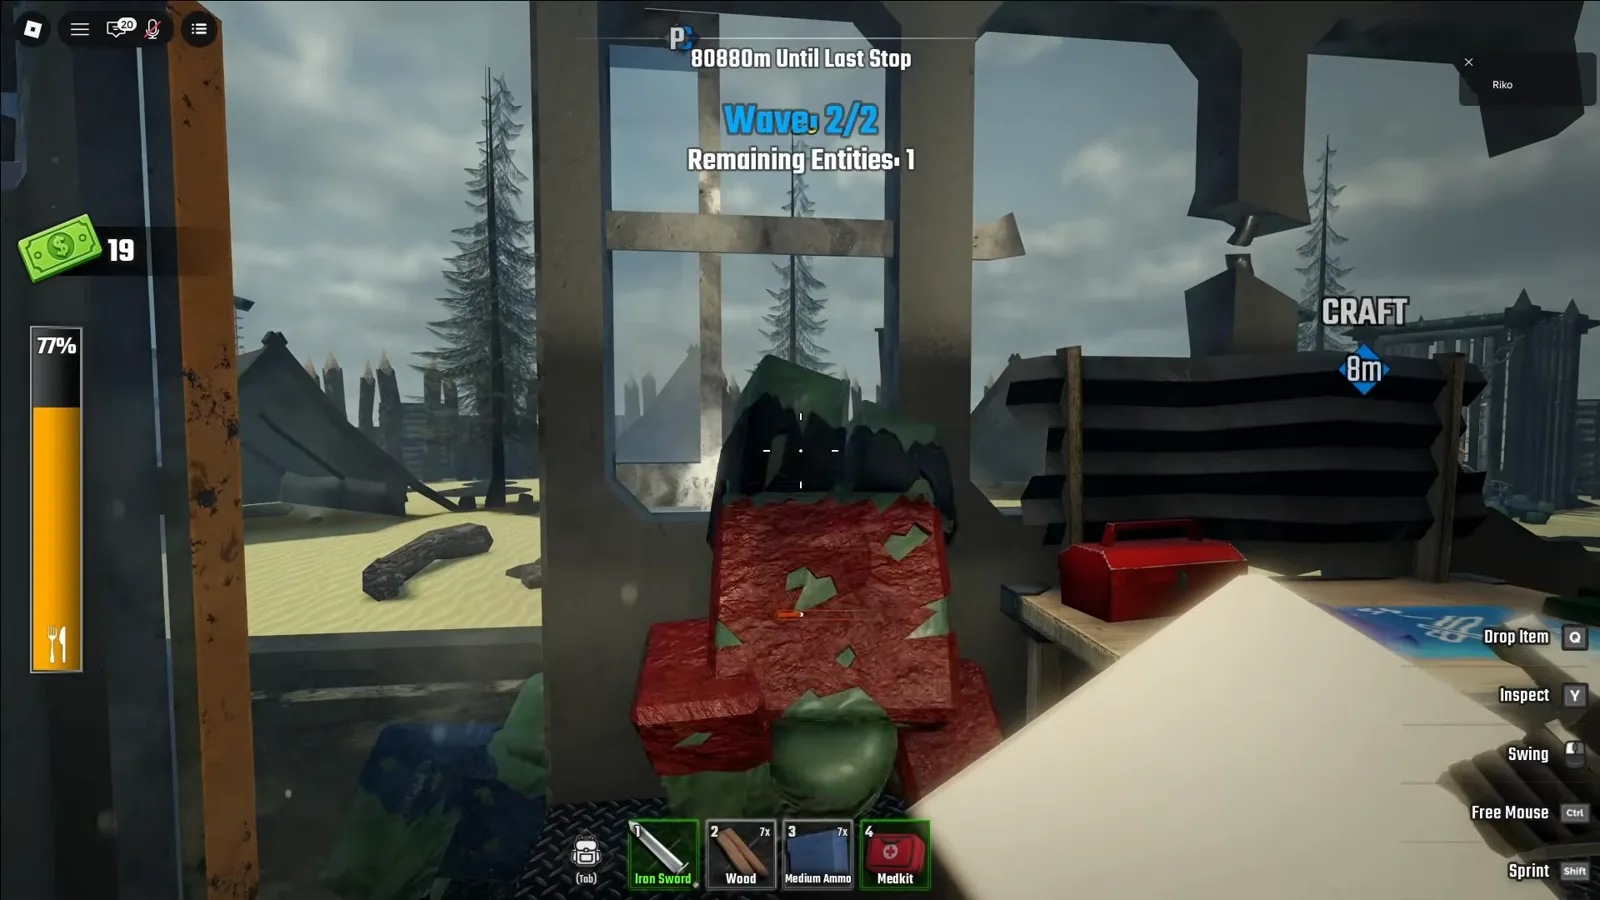
Checkpoint I: the gate that teaches the loop
Checkpoint I is the smallest fight on the road — the wave counter tops out at 2/2 — but it establishes the pattern every later gate repeats. Clear the two waves, take the key, and open the chained cage at the center of the zone. In the footage the rescue target is a child; freed, he follows the player out with no interaction required.
Use the first checkpoint to lock in the habit that pays all run: sweep the containers before boarding. Loot here is guaranteed-value, and the keep-or-sell framework tells you exactly what rides to the next stop and what converts to cash.
Checkpoint II: three waves, guaranteed money
Checkpoint II raises the count to 3/3 waves and doubles as the run’s best loot stop. The efficient play, once you already carry fuel, is to skip the houses on the approach and drive straight to the checkpoint — the loot inside is guaranteed, worth close to $1,000 in the recorded run, and selling it at the next terminal banked about $700.
Defense inside the zone favors tight spaces. Hiding in an enclosed area keeps you safer than the open lot, and your swings still connect — the melee hitbox reaches through the cover, so you can hit zombies that can’t surround you. When the counter hits zero, take the key (the waypoint marks it), open the cage, and let the civilian follow.
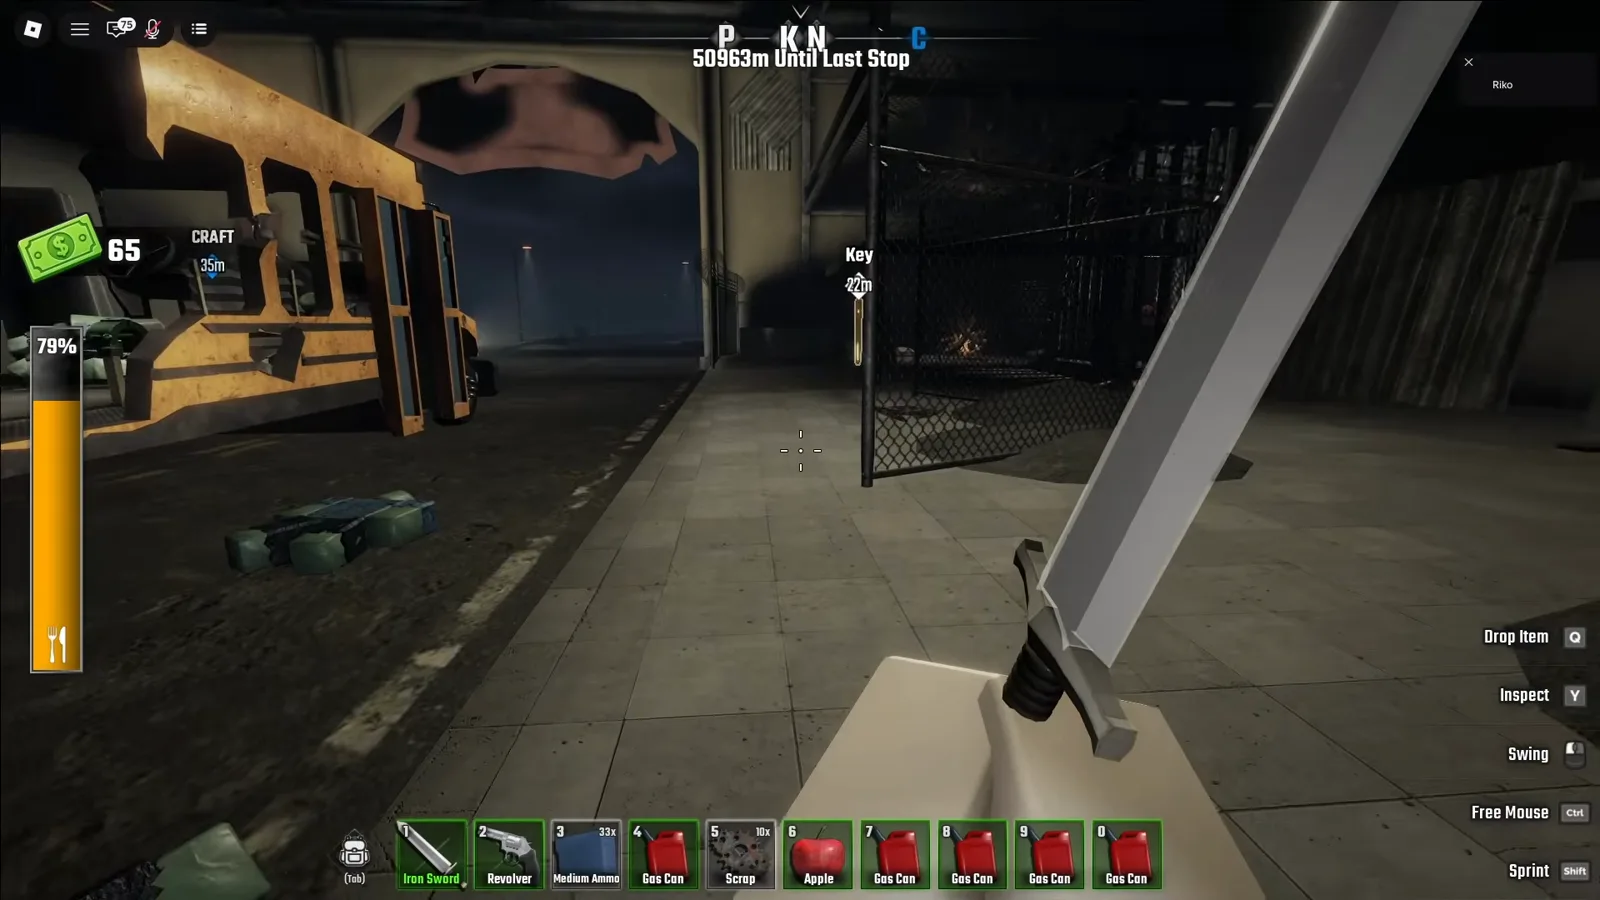
Checkpoint III: five waves and the house funnel
Checkpoint III is the largest checkpoint fight — the counter runs to 5/5 — and the footage shows a clean way to handle it. On arrival, go right and head straight into the house: the zombies funnel in after you, and fighting from inside keeps them from surrounding you. Regeneration in Last Stop is fast, so leaving one weak entity alive for a moment is a free heal window while you recover before the next push.
After the zone is clear, loot it — the containers here hold expensive items — then build the bridge to trigger the final defense. The simplest way to survive the last waves is to get back in the house and lure the zombies to the wall: they stack against it and stay there, and you swing through the hitbox at a mob that can’t swing back.
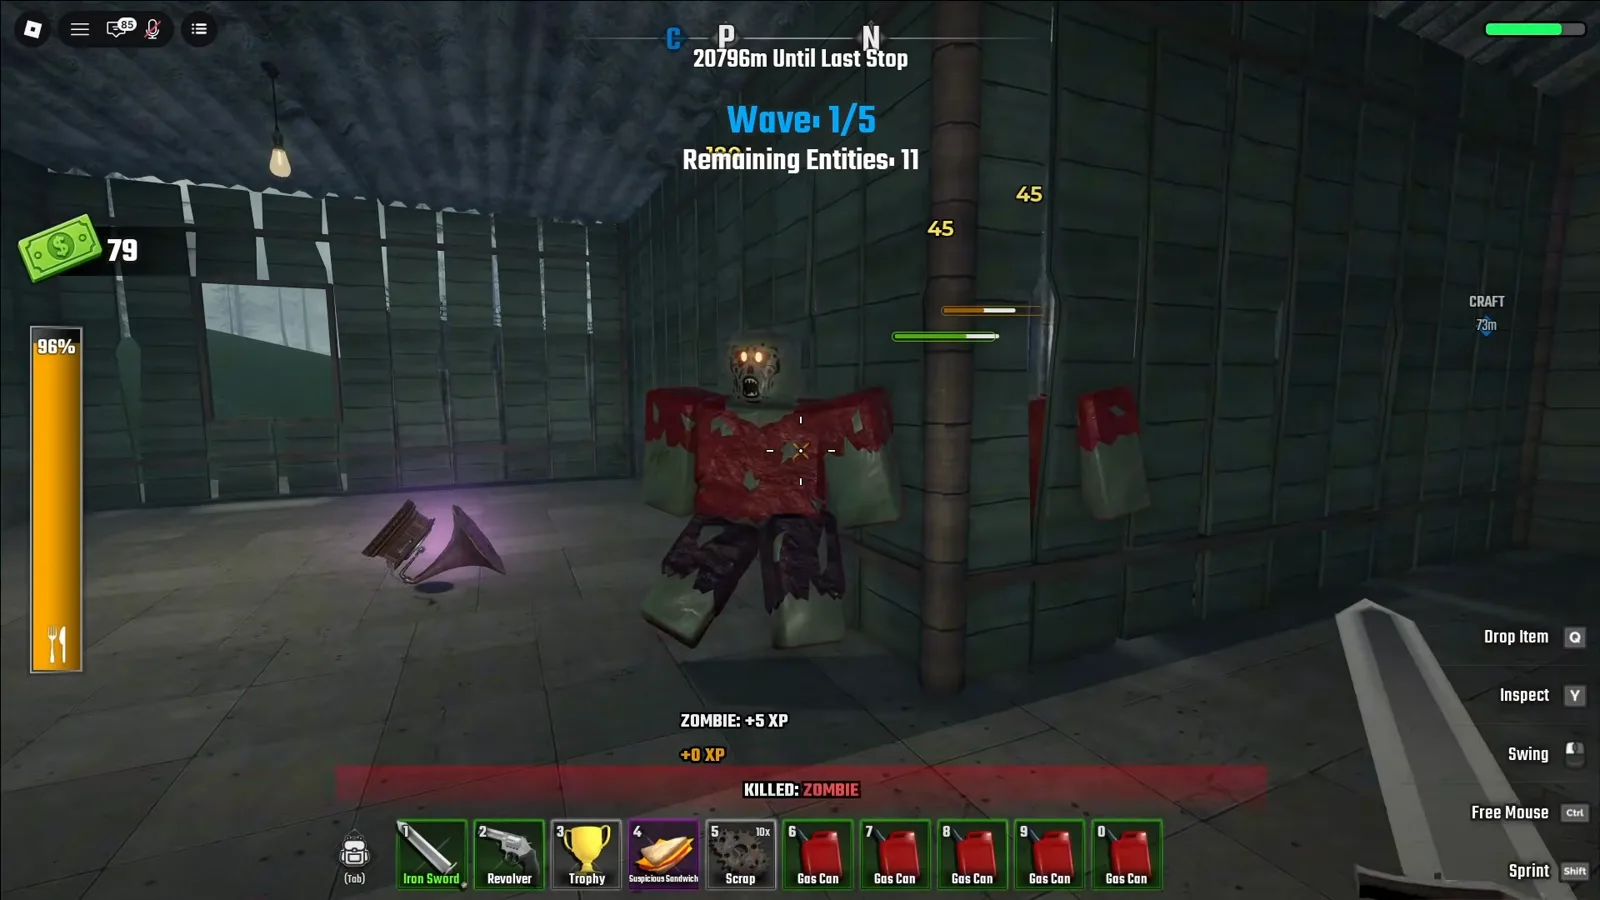
Once the fifth wave falls, take the key, free the NPC, and sell everything at the terminal — this is the last big payday before the endgame. Restock with the bus upgrade priority in mind: four gas cans, a coal box, and medium ammo for the revolver carry you from here to the last terminal, where the Fred final boss guide picks up.
Checkpoint rewards, run by run
| Checkpoint | Waves | What it pays |
|---|---|---|
| Checkpoint I | 2/2 | Key, rescue, first guaranteed loot sweep |
| Checkpoint II | 3/3 | ~$1,000 of loot (sold for ~$700), rescue |
| Checkpoint III | 5/5 | Expensive items, bridge unlock, last big sell |
The pattern worth internalizing: checkpoints convert time into guaranteed money, while houses convert time into maybe-money. The beginner guide routes the whole run around that idea, and the badge and ending record on the endings and badges page tracks what the full clear earns you.
Source
Screenshots and the checkpoint sequence on this page are from the video Last Stop Roblox How to Solo Easy Fast Win for Beginners by Ricoko Tutorial & Showcase, specifically the 03:11–03:42, 05:12–05:44, and 06:44–07:45 segments (checkpoint gates, key pickups, cage rescues, and the house funnel defense). Text is our own write-up; frames are used with attribution, and frames with burned-in captions were excluded.
On the road to Checkpoint III, one roadside hazard is worth knowing: the vampire guide covers the grab you can meet in the fog and how the Fight Back escape works.
Related Articles
bosses
Last Stop Roblox Kraken Boss Guide: 2,000 HP Sea Monster at the Oil Rig
Verified Kraken guide for Last Stop Roblox: the 2,000 HP tentacle boss that rises when the oil rig's last vault opens, its attack phases, and the 30-token reward.
guides
Last Stop Roblox Oil Rig Guide: Floors, Keycards, Vaults and the Kraken
Oil Rig guide for Last Stop Roblox: the three-star Next Stop, three floors of oil workers, keycards, three floor vaults, and the boss that wakes at the end.
guides
Last Stop Roblox Pirate Bus: the 1% Spin Drop With a Deck Cannon
Pirate Bus guide for Last Stop Roblox: the 1% Ocean Spin prize, the roof-mounted deck cannon, the checkpoint and siege plays it enables, and every place it fails.
Was this helpful?
Thanks for the feedback!